OUR STEP-BY-STEP GUIDE TO PREPARE FOR A NEW LAWN
Preparation of your area is just as important as the installation itself, and crucial to your lawn’s success.
Where to start?
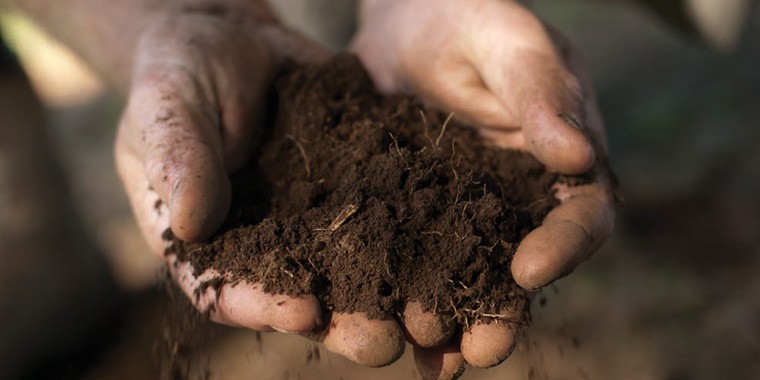
Successful establishment of all lawn varieties relies on proper soil preparation.
By following this list of tips and tricks for preparing the soil, you will encourage a happy and healthy lawn.
NOTE: Preparation for establishing a lawn usually begins after construction activities have finished, or before turf underlay has been introduced.
- Kill Off
- Mow Low
- Remove Debris
- pH Test
- Drainage
- Irrigation
- Turf Underlay
- Level The Area
- Measuring
- Spread Lawn Launcher
- Time to Lay Your Turf!
STEP 1: KILL OFF
- Spray out any existing weeds or grass with a non-selective herbicide, glyphosate-based product (E.g., Zero or Roundup). Always ensure to follow manufacturer instructions and application rates.
- You may need 2 applications. Wait roughly one week after your initial application to guarantee that all existing vegetation has died off. If there are still signs of growth, apply a second application.
- We recommend allowing 7-10 days between your last application of herbicide and the preparation of your area for a new lawn.
JOIN OUR MAILING LIST
Get top lawn care tips and advice from the experts who grow the stuff, delivered straight to your inbox.
STEP 2: MOW LOW
- Once everything has died off, mow the lawn on the lowest setting to get rid of any existing grass. This creates an easier working environment for you.
STEP 3: REMOVE DEBRIS
- Remove any refuse, rocks, and debris from the area. Turn over the existing base with a rotary hoe or garden fork to alleviate compaction.
- If the soil is clay based, we recommend applying Gypsum to help improve the soil structure. De-compacted soil is a must when installing a new lawn as it will create a better growing medium.
STEP 4: pH TEST
- Conduct a pH test on your soil using a pH testing kit. You can find these kits online, Bunnings or your local Nursery.
- An ideal soil pH for turf is between 6.5 and 7. If your results are either side of this, the pH can be adjusted with some treatment. Read more on adjusting soil pH levels.
- Before your turf underlay is spread is the best time to act. Doing so will create an optimal growing environment for the plant.
STEP 5: DRAINAGE
- If there are areas of your yard that drain poorly, now is the time to better shape the land or install drainage to ensure no water is sitting on the turf for prolonged periods of time.
STEP 6: IRRIGATION
- Installing an automatic irrigation system is a great way to regularly water the turf consistently, which will reduce your hand maintenance and maximise watering
- We recommend installing pop up/automatic irrigation during the preparation process. If you don’t want to DIY, the Turfco Team can recommend local suppliers.
- If automatic irrigation isn’t an option and you’re opting for a portable sprinkler system, we strongly recommend setting up and testing your portable sprinkler system prior to the arrival of your new lawn to ensure you have sufficient coverage.
- There are many variations of portable sprinklers. In our experience, we find that Wobble-Tee type sprinklers are the most effective in terms of coverage and water pressure.
- A Wobble-Tee Sprinkler’s coverage is between 2m – 15m diameter, depending on your water pressure.
*We can deliver Wobble-Tee Sprinklers with your turf. Although, we encourage you have an established method of irrigation prior to the arrival of your new lawn.
*Please note, we strongly advise against hand watering or soaker hose where possible.
STEP 7: TURF UNDERLAY
- Most turf varieties perform best on a free-draining, sandy soil.
- We advise spreading an 80% washed-river sand, 20% organic material (soil) turf underlay of a depth of at least 100-150mm (for Sir Walter DNA Certified Buffalo, TifTuf Hybrid Bermuda, Zoysia Australis & Eureka Kikuyu).
- For Sir Grange Zoysia turf we advise using 100% washed-river sand of at least 100-200mm in depth.
- A great turf underlay will assist with levels and optimise turf
The Turfco Team can recommend local suppliers of turf underlay.
STEP 8: LEVEL THE AREA
- Level off the area with a lawn leveller rake. When spreading your turf underlay, allow a finished soil height of 30-35mm below any edges or paths for the thickness of the turf ensuring a level finish with its surroundings.
STEP 9: MEASURING
- Before ordering your new lawn, make sure you have measured the area correctly using a tape measure to calculate the required amount of turf you need.
- For further assistance with your calculations, we have a Turf Area Calculator. We suggest adding a few extra square metres (round up by about 5-10%) in case you fall short.
STEP 10: SPREAD LAWN LAUNCHER
- Spread Lawn Launcher Starter Fertiliser on your soil base.
- A combination of granular high-quality fertiliser and moisture magnets, Lawn Launcher helps with water retention within a root system and will give your lawn the best possible start.
- Spread it underneath the turf on your prepared turf underlay surface. We can deliver Lawn Launcher with your turf.
If you chose TifTuf, this step isn’t necessary due to its fast root system.
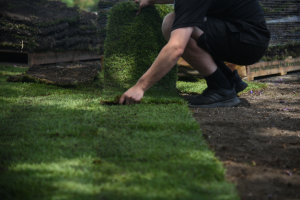
STEP 11: TIME TO LAY YOUR TURF
- If you’re doing your own installation, check out our turf installation guide for all the key tips and tricks.
A few things to keep in mind:
Winter Dormancy:
- We grow and sell warm-season turf varieties. All warm-season turf varieties will enter a level of dormancy when [soil] temperatures decrease (during the cooler/winter periods). Some regions and particular turf varieties will experience higher levels of winter dormancy than others. Expect your lawn to lose colour during these cooler months as the plant growth rate slows down. Once temperatures increase, the growth rate will rise, and the lawn will return to a lush, green state.
- An application of Lawn Solutions ColourGuard Plus* will help to immediately bring a lush, green colour back to your lawn. The product will both give your lawn an instant green look and protect the blade of the turf up to 2 degrees warmer.
- *Apply to established lawns only.
Establishment Timing:
- The time it takes for a new lawn to establish primarily depends on three things:
- The time of year the turf is laid.
- The turf variety.
- The weather conditions in your area.
Importance Of Water
- New lawns mustn’t be allowed to dry out for extended periods of time in the weeks of establishment. If you are away from home, sprinklers and tap timers should be used.
- If the turf dries out during its establishment period, there is a higher chance of lawn problems occurring. You don’t need to flood your lawn, just be sure to keep the turf and the immediate underlying soil moist to touch.
Contact the Turfco Team for more information on establishment timing or visit our lawn care blogs page.
Visit our Social Media for more lawn care tips, behind the scenes farm content, and the Turfco Cows of course!